












































How to Install a UTV Soft Cab Enclosure

Riding a UTV in cold, rainy, or dusty conditions can become uncomfortable when wind and debris enter the cabin. A soft cab enclosure helps provide additional weather protection, making it a useful accessory for off-road adventures, hunting trips, and everyday outdoor work. However, improper installation can leave gaps, create loose sections, and reduce the enclosure's effectiveness.
This guide covers the essential installation steps, model-specific considerations, and practical maintenance tips for keeping a soft cab enclosure in good condition.
Key Takeaways:
-
Confirm vehicle compatibility before installation.
-
Prepare mounting surfaces and check all installation parts.
-
Position and secure the soft cab enclosure correctly.
-
Adjust zippers and fasteners to improve weather protection.
-
Check model-specific requirements and maintain the enclosure regularly.
What to Prepare Before Installing a UTV Soft Cab Enclosure
Proper preparation is essential when installing a UTV soft cab enclosure. Checking the vehicle, installation components, and mounting surfaces beforehand can make the process more straightforward and help avoid fitting problems.
Check Vehicle Compatibility
Before installing a soft cab enclosure, confirm that the product matches your UTV's make, model, year, and seating configuration. Even vehicles from the same manufacturer may have different roll cage dimensions, cab structures, or attachment points. An enclosure designed for one model may not fit another, so relying on general vehicle compatibility can lead to installation problems.
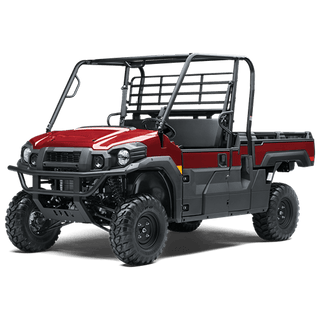
Existing accessories also need to be considered. Check whether the enclosure is compatible with your roof, front windshield, rear panel, and side mirrors. These components may occupy mounting areas or affect how the enclosure fits against the vehicle frame. KEMIMOTO offers model-specific options for Polaris RZR, Can-Am Maverick X3, and Kawasaki Mule Pro vehicles, each with its own fitment requirements.
Gather the Required Tools and Installation Parts
Before beginning installation, unpack the enclosure and compare the supplied components with the product manual. Depending on the design, a UTV soft cab enclosure may include fabric panels, mounting straps, hook-and-loop fasteners, brackets, or supporting frames. Some products use existing vehicle attachment points, while others require additional mounting hardware.
Keep the components organized and check for missing or damaged parts. Prepare a soft cloth, mild soap, and any tools specified in the manufacturer's instructions. Avoid assuming that every enclosure uses the same installation method, particularly when comparing flexible fabric enclosures with framed systems.
Clean and Prepare the Mounting Surfaces
Clean the areas where the enclosure will attach, including the roll cage, mounting points, and surrounding vehicle surfaces. Dirt, mud, and grease can interfere with fastening components or prevent the enclosure from sitting correctly against the frame. Use mild soap and water where appropriate, then allow the surfaces to dry completely.
Inspect the vehicle's existing hardware before installation. Make sure mounting brackets, clamps, and nearby accessories are properly secured. Once the vehicle is ready, identify the enclosure's orientation and locate the intended attachment points according to the installation manual.
How to Install a UTV Soft Cab Enclosure Step by Step
Installing a soft cab enclosure requires correct positioning, secure mounting, and careful adjustments. The steps below describe a general installation process for common UTV soft enclosure systems. Specific mounting locations and hardware arrangements depend on the product and vehicle, so always follow the supplied instructions when they differ.
Step 1: Position the Soft Cab Enclosure
Begin by identifying the enclosure sections and determining how they fit around the vehicle's cabin. Depending on the product, the system may cover selected areas of the cab or include additional panels for broader protection. Check each component's orientation before attaching it to the vehicle.
Hold the enclosure against the designated mounting areas and align it with the roll cage, roofline, and surrounding body panels. Make sure the fabric follows the vehicle's contours without excessive stretching. If the system includes multiple sections, position them according to the manufacturer's installation sequence so that adjoining edges can align correctly.
Step 2: Attach the Mounting Straps and Fasteners
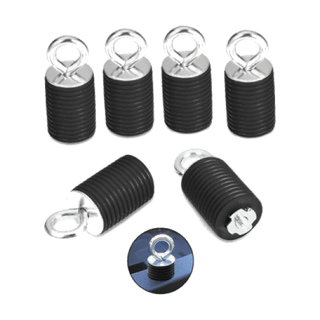
Once the enclosure is positioned, begin securing its primary mounting points. For strap-mounted designs, route the supplied straps around the designated sections of the roll cage or vehicle frame. Keep each strap flat and follow the fastening arrangement shown in the product instructions.
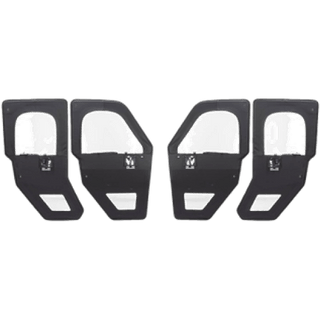
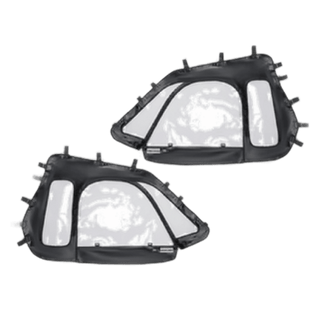
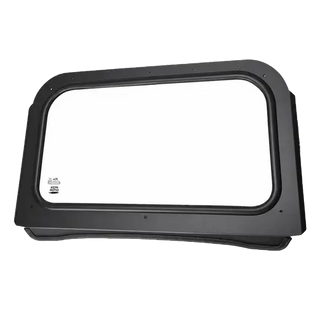
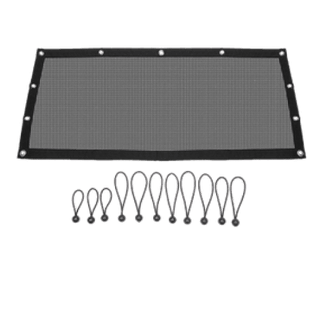
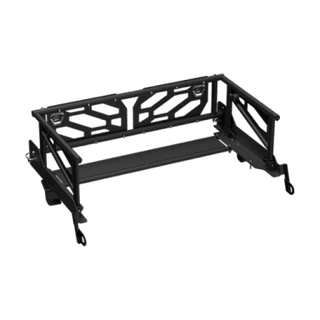
Other enclosures may use hook-and-loop fasteners, brackets, or supporting frames. For example, the KEMIMOTO Polaris RZR soft cab enclosure uses detachable straps, while the company's Kawasaki Mule Pro upper enclosure kit features a framed design. These mounting methods should not be treated as interchangeable.
Secure the main attachment points without immediately applying maximum tension. Leaving some adjustment room makes it easier to align the enclosure before completing the installation.
Step 3: Secure the Upper and Lower Enclosure Sections
After attaching the primary fasteners, adjust the enclosure along the upper and lower sections of the cabin. Start by checking how the material follows the roofline and roll cage, then inspect the lower attachment areas. The enclosure should remain aligned with the vehicle's body and intended mounting positions.
Gradually tighten the fasteners while checking the overall fit. Avoid pulling one section excessively tight to compensate for misalignment elsewhere, as this can create uneven tension or additional gaps. Where multiple enclosure panels meet, confirm that their edges align properly and that the connections follow the manufacturer's instructions.
Step 4: Adjust the Enclosure Fit and Tension
Once the enclosure is secured, inspect the fabric tension across its installed sections. A correctly fitted enclosure should remain reasonably stable without unnecessary stretching or loose material. Uneven tension can cause wrinkles, distort the transparent sections, or place additional strain on attachment points.
Make small adjustments to the mounting straps, brackets, or other fasteners as needed. Check that the enclosure follows the vehicle's frame and does not interfere with existing accessories. For systems with zippers or adjustable openings, confirm that these components operate normally after the main enclosure has been fitted.
Step 5: Check the Fit and Weather Sealing
The final step is to inspect the installed enclosure for gaps, loose mounting points, and possible interference with vehicle controls. Pay particular attention to areas where the enclosure meets the roof, windshield, roll cage, and existing body panels. These connection points can affect how much wind, rain, and dust enter the cabin.
Use the following checklist before driving:
-
Mounting points: Confirm that all required straps, brackets, and fasteners are secure.
-
Upper connections: Check the fit around the roofline and upper roll cage.
-
Lower connections: Inspect the alignment between the enclosure and vehicle body.
-
Adjacent accessories: Make sure the enclosure does not interfere with windshields, mirrors, or other installed equipment.
-
Overall fit: Look for excessive tension, loose sections, or unusually large gaps.
After completing these checks, confirm that the vehicle's doors, controls, and visibility are unaffected. Remember that a soft enclosure provides additional weather protection but does not necessarily create a completely airtight or waterproof cabin.

How to Fit a Soft Cab Enclosure with a Roof and Rear Panel
Many UTV owners already have a roof, front windshield, or rear panel installed before adding a soft cab enclosure. These accessories can improve cabin coverage, but their mounting positions and dimensions may affect how the enclosure fits. Checking compatibility before installation is important because not all accessories are designed to work together.
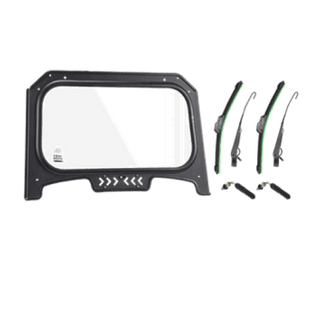
When installing the enclosure, pay attention to the areas where its material meets existing roof or windshield components. Mounting clamps, brackets, and other hardware may occupy the same sections of the roll cage. If an accessory blocks a required attachment point, consult the manufacturer's instructions before repositioning any hardware.
The following table summarizes the main areas to inspect when installing an enclosure with existing cabin accessories.
|
Existing accessory |
What to check during installation |
|
UTV roof |
Clearance around roof brackets and upper mounting points |
|
Front windshield |
Alignment near the windshield frame and mounting clamps |
|
Rear panel |
Compatibility with rear mounting areas and adjoining enclosure sections |
|
Side mirrors |
Clearance around brackets and visibility after installation |
|
Existing vehicle body panels |
Alignment between the enclosure and adjacent vehicle surfaces |
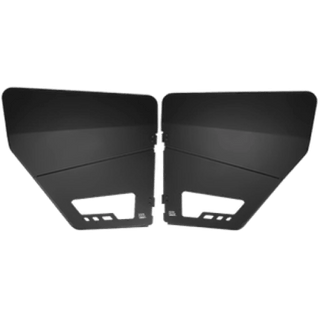
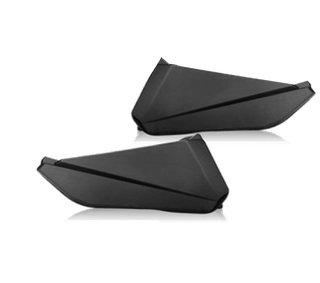
For example, KEMIMOTO's Can-Am Maverick X3 soft cab enclosure is designed to work with compatible roofs, windshields, mirrors, and existing lower vehicle panels. However, this product is an upper enclosure component rather than a complete cab system containing every panel.
Once the enclosure is installed, check the connections between all compatible accessories. Correct alignment can help reduce exposed areas and prevent mounting hardware from placing unnecessary pressure on the enclosure material.
Installation Tips for Polaris RZR and Ranger Soft Cab Enclosures
Although the general installation process is similar, different UTV models have different cab structures and mounting requirements. Understanding these differences is important when choosing and installing a soft cab enclosure, particularly when existing aftermarket accessories are already fitted.
Polaris RZR Soft Cab Enclosure
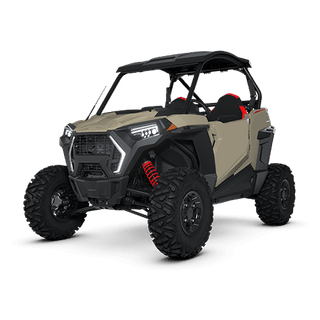
When installing a Polaris RZR soft cab enclosure, check the exact model, production year, and seating configuration before beginning. Polaris RZR models have different roll cage arrangements and cabin dimensions, meaning the correct enclosure must match the specific vehicle rather than the RZR name alone.
KEMIMOTO's soft cab enclosure for Polaris RZR XP features PVC fabric construction, transparent window sections, and detachable mounting straps. The product is designed for compatible RZR configurations and can be used alongside specified roof, windshield, and mirror arrangements. During installation, make sure the attachment points follow the vehicle's frame and that nearby accessories do not interfere with the enclosure's fit.
Polaris Ranger Soft Cab Enclosure
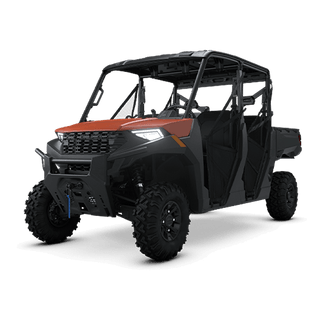
A Polaris Ranger soft cab enclosure requires careful attention to the vehicle's cab dimensions and seating layout. Polaris Ranger configurations differ across models, particularly between standard and Crew versions, which can affect enclosure dimensions and attachment locations.
Before installation, confirm the intended model and check the compatibility of existing windshields, roofs, and other cab accessories. The position of mounting brackets and the available roll cage attachment areas should also be reviewed. Since Ranger enclosure designs can vary, use the instructions for the specific product rather than applying mounting procedures intended for another Polaris vehicle.
Common Soft Cab Enclosure Installation Problems and Fixes
Even after installation, a soft cab enclosure may require additional adjustments. Common problems include visible gaps, uneven fabric tension, loose mounting points, and interference with existing accessories. Most fitting issues should be checked systematically before making major changes to the installation.
1. Gaps around the enclosure edges
Gaps can occur when the enclosure is positioned incorrectly, or the mounting points are unevenly adjusted. Check the alignment along the roofline, roll cage, and lower attachment areas. Reposition the enclosure where necessary and adjust the fasteners gradually. Some openings may remain because of the vehicle's construction.
2. Loose mounting straps or fasteners
If the enclosure moves excessively, inspect the straps, brackets, and other attachment components. Confirm that each fastener is installed in its designated location and tightened according to the product instructions. Damaged components should be replaced rather than secured with temporary modifications.
3. Uneven fabric tension or wrinkles
Wrinkles may appear when one section of the enclosure is pulled more tightly than another. Loosen the affected mounting points slightly and adjust the material until the tension is more evenly distributed. Transparent sections should not be stretched excessively, and heat should not be applied unless specifically permitted by the manufacturer.
4. Interference with existing accessories
Roofs, windshields, and mirrors can sometimes obstruct enclosure mounting points. Check whether the installed accessories are compatible with the enclosure and whether their hardware occupies the required attachment areas. Avoid forcing the enclosure around incompatible brackets, as this can damage the material or mounting components.
5. Enclosure movement during operation
Excessive movement may indicate loose fasteners, incorrect positioning, or an incompatible enclosure. Stop and inspect the installation before continuing to drive. Check the main mounting points and confirm that all sections remain attached according to the product instructions.
If fitting problems persist after these checks, review the manufacturer's installation manual or contact the product supplier for assistance.
How to Maintain a UTV Soft Cab Enclosure After Installation
Regular cleaning and inspection can help preserve the condition of a UTV soft cab enclosure. Dirt, moisture, and repeated exposure to outdoor conditions may affect the fabric, transparent sections, and mounting components. Basic maintenance is especially important for UTVs used frequently on muddy trails, farms, or dusty work sites.
Clean the enclosure with mild soap, water, and a soft cloth after particularly dirty rides. Remove dust and debris gently from transparent surfaces to avoid scratches. Harsh chemicals, solvents, abrasive brushes, and unsuitable glass cleaners should be avoided because they may damage the materials. Allow the enclosure to dry before storing it.
Inspect the mounting straps, brackets, and fasteners periodically. Check for loose connections, damaged stitching, or unusual wear around heavily used attachment points. Any damaged parts should be repaired or replaced according to the manufacturer's recommendations before further use.
When removing the enclosure for seasonal storage, follow the product's removal instructions and avoid pulling on the fabric to release fasteners. Make sure the material is clean and dry before packing it away. Transparent soft windows should be rolled rather than sharply folded where the manufacturer recommends this method. Store the enclosure in a dry location away from sharp objects and direct heat.
Conclusion
Installing a soft cab enclosure starts with choosing the correct product for your UTV and understanding its mounting requirements. Proper preparation, careful positioning, secure attachment points, and final fit checks can help improve cabin coverage and reduce common installation problems.
Different UTV models may require different mounting methods, so always follow the instructions supplied with the selected enclosure. Regular cleaning and maintenance can also help keep the material and fasteners in good condition.
KEMIMOTO offers model-specific soft enclosures for a range of off-road vehicles. Explore the KEMIMOTO soft cab enclosure collection to find an option that fits your UTV and existing cabin accessories.
FAQs About Soft Cab Enclosure Installation
The following questions cover common concerns about installation time, drilling requirements, seasonal removal, and compatibility with existing UTV accessories.
How long does it take to install a UTV soft cab enclosure?
Installation time depends on the enclosure design, vehicle configuration, and installer experience. Flexible strap-mounted enclosures may require fewer installation steps than framed systems. Additional time may be needed to align the enclosure with existing roofs, windshields, or other aftermarket accessories.
Can a soft cab enclosure be installed without drilling?
Some soft cab enclosure products use existing mounting points, straps, or other supplied fasteners without requiring drilling. However, installation requirements vary between products and vehicle models. Check the manufacturer's instructions to confirm whether drilling or additional hardware is necessary for the selected enclosure.
Can a soft cab enclosure be removed during summer?
Many UTV soft cab enclosure products are designed for removal when additional cabin ventilation is preferred. Removable systems may use straps or other detachable hardware, while framed enclosures can have different removal procedures. Always follow the product instructions to avoid damaging mounting components or the enclosure material.
Can a soft cab enclosure be installed with an existing windshield?
A soft cab enclosure can be installed with an existing windshield when the two accessories are compatible. Check the vehicle model, windshield dimensions, mounting brackets, and available installation space. Some KEMIMOTO enclosures are designed to accommodate compatible windshields, but fitment must be confirmed for each product.


Leave a comment