































How to Install a UTV Windshield: Step-by-Step Guide

A UTV windshield is often one of the first upgrades riders add to their vehicles, but proper installation is just as important as choosing the right one. Whether you are riding fast trails or working through muddy terrain, a well-fitted windshield helps block wind, dust, bugs, and trail debris from reaching the cab. Problems usually start when the installation is rushed or uneven. Poor alignment, loose hardware, or incorrectly fitted seals can lead to rattling, air gaps, and bolts that loosen after only a few rides. In many cases, these issues come from the installation process rather than the windshield itself.
This guide walks through UTV windshield installation step by step, with advice that applies to popular machines from Polaris, Can-Am, CFMOTO, and other brands. You will learn:
-
How to choose between a front, half, or glass windshield based on how and where you ride
-
How to install front windshield setups correctly across different UTV models
-
What to pay attention to during a can am half windshield install and a can am X3 glass windshield install
-
Simple maintenance habits that can help prevent loose hardware, scratches, and early wear
Why a Proper UTV Windshield Installation Matters
A windshield that is bolted on correctly does more than look tidy. It actually protects you the way it is supposed to.
If the seal is not pressed down evenly or the bolts are not tightened in the right order, the panel will vibrate and rattle at speed. Over time that loose fit wears the seal out faster and lets rain or dust work its way into the cab. In worse cases, a poorly mounted windshield can shake loose entirely on rough terrain, which is a real safety issue for both driver and passenger. Taking an extra ten minutes to get the steps right the first time saves a lot of frustration later.
Types of UTV Windshields: Choosing the Right Fit Before You Install
Before picking up a wrench, it helps to know exactly what kind of windshield you have, since the mounting process is not identical across all three types.
Front Windshield
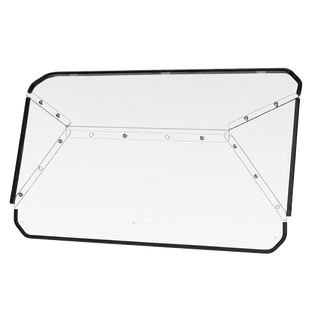
This is the full coverage option, and it usually comes in two materials. Polycarbonate, or PC, is a quarter inch thick, hard coated for scratch resistance, and lighter to handle. Glass versions use 8mm DOT approved laminated safety glass, which resists scratching even better but adds noticeable weight. A front windshield is mounted with a seal plus multiple bolts, and this is the setup that most other windshield types borrow their installation logic from.
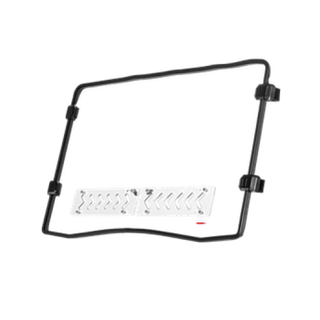
Half Windshield
This style only covers the upper part of the front opening and is usually made of PC material. Installation relies on clip on mounts rather than a full seal and bolt pattern, which makes it a quicker job overall. It suits riders who want some wind protection but also want to keep an open air feel.

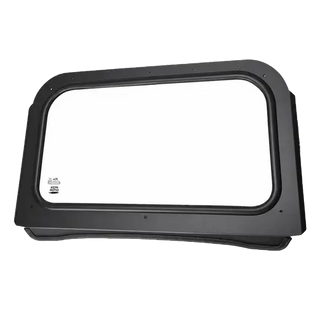
Glass Windshield
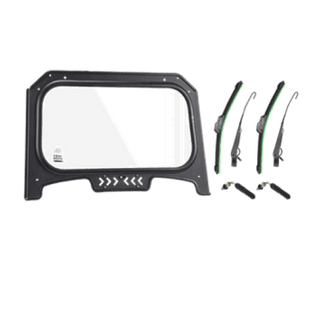
The standout features here are the 8mm laminated glass, a sliding vent that adjusts with one hand, and dual manual wipers that cover more than 90 percent of the panel. Because it ships as a full assembly, aluminum frame, vent slider, and wiper hardware included, there are more parts to manage during installation than with a simple PC panel.
Here is how the three compare at a glance:
|
Type |
Material |
Mounting Method |
Best For |
|
Front Windshield |
PC or laminated glass |
Seal plus multi point bolts |
Riders who want full coverage year round |
|
Half Windshield |
Polycarbonate |
Clip on quick mount |
Riders who want light protection with an open cab feel |
|
Glass Windshield |
8mm laminated glass |
Aluminum frame, seal, bolts, and wiper hardware |
Riders who value visibility and durability on longer rides |
Tools and Materials You Need for UTV Windshield Installation
Getting everything laid out before you start makes the whole utv windshield installation process go faster, and it avoids the annoyance of stopping halfway through to find a tool.
Most kits already include the bolts, washers, and seal material needed, but it is worth having these on hand as well:
-
A Phillips or hex screwdriver, since most kits use 4mm or 5mm hardware
-
A torque wrench, so you avoid cracking a PC panel by overtightening or leaving it loose enough to leak air
-
A soft cloth and mild cleaner for wiping down the frame before mounting
-
A second set of hands to help hold the panel steady, which matters more with the heavier glass option
How to Install a UTV Windshield
The details shift slightly depending on which windshield you own, but the underlying logic stays the same across all of them. Position the panel first, keep the seal flat and fully seated, tighten the hardware gradually and in a diagonal pattern, then check everything again before you head out. Here is how that plays out for each type.
Installing a Front Windshield Across Different UTV Brands
Polaris, CFMOTO, and Kawasaki all use slightly different frame shapes, but how to install front windshield panels follows the same basic sequence no matter the brand.
-
Clean the mounting surface on the frame so dust and grease do not stop the seal from sitting flush.
-
Set the windshield panel against the mounting holes and hold it in place by hand before adding any bolts.
-
Lay the seal flat and even along the frame, checking for wrinkles or gaps where it is not making contact.
-
Tighten the bolts in stages, working in a diagonal pattern rather than finishing one side before moving to the other, so the pressure spreads evenly across the panel.
-
Go back over every bolt once more and confirm the fit looks even all the way around.
On Polaris models, the mounting holes often line up close to the dash, so double check clearance before final tightening. CFMOTO frames tend to run slightly narrower brackets, which means the seal needs a bit more attention to avoid bunching at the corners. Kawasaki setups are generally straightforward, but the bolt spacing can be uneven, so working diagonally matters even more here to keep the panel from sitting crooked.
One thing worth flagging before you even start: full windshields are usually not compatible with intrusion bars, whether factory installed or aftermarket. Check your frame for any bar that might conflict with the mounting points before you begin. The KEMIMOTO full windshield product page includes a four step install guide that works as a solid template for most front windshield setups, regardless of brand.
Installing a Lightweight Half Windshield with Clip-On Mounts
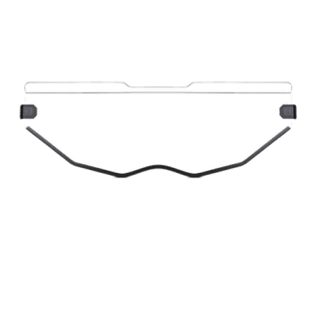
A can am half windshield install moves much faster than a full windshield, since there is no seal ring or multi point bolt pattern involved.
-
Slide the panel into place along the top edge of the front frame, lining up the clip positions as you go.
-
Rotate or tighten the clamps by hand until the panel sits firmly against the frame.
-
Check both sides for even pressure, since a clamp that is tighter on one side than the other can leave the panel sitting slightly off.
-
Give the panel a gentle push to confirm there is no wobble before you consider it done.
This method rarely requires tools at all, and most riders finish in under fifteen minutes. It is a good match for anyone who wants basic wind protection without giving up the open feel of the cab. Fitment details for specific models are listed on the KEMIMOTO half windshield page, which is worth a quick check before you order if you are unsure your frame will match up.
Installing a Glass Windshield with Multi-Point Frame Mounting
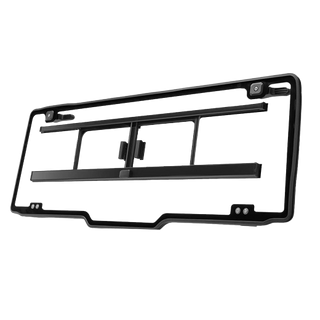
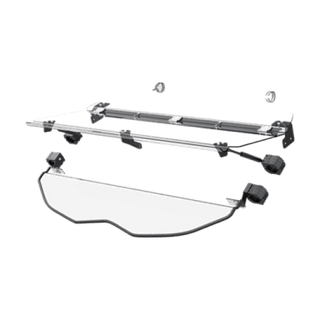
A can am X3 glass windshield install involves more moving parts than either of the other two styles, since it combines an aluminum frame, a seal, a sliding vent, and dual wipers into one assembly.
-
Assemble the aluminum frame first and check that the seams fit tightly with no visible gaps.
-
Fit the seal completely into the frame groove before pressing the whole assembly against the vehicle frame, since a seal that is not fully seated will shift out of position under pressure.
-
Tighten the mounting bolts in stages, typically starting from the center and working outward, so pressure releases evenly instead of pulling the frame unevenly to one side.
-
Install the sliding vent track and test that it moves smoothly with one hand before locking it in place.
-
Mount both wiper arms and adjust the angle so they sweep across more than 90 percent of the glass surface.
-
Check around the entire frame for gaps once everything is tightened, since even a small gap here can lead to wind noise or water getting in later.
The most common mistake at this stage is pressing the frame down before the seal is fully seated, which shows up later as wind noise that is hard to trace back to its source. It helps to do a dry fit first, confirm everything lines up, and only then tighten the bolts for real. Full assembly details are on the KEMIMOTO glass windshield page if you want to see the parts breakdown before you start.
Common UTV Windshield Installation Mistakes to Avoid
Most windshield installation problems come from a few common mistakes. They are easy to avoid once you know what to watch for, and catching them early can save you from having to take everything apart and start over.
Tightening the Mounting Hardware Too Early
One of the easiest mistakes to make is fully tightening a bolt or clamp before the windshield is properly positioned.
Start by fitting all clamps and bolts loosely. Once everything is in place, step back and check the windshield from both sides to make sure the panel is sitting evenly. If you tighten one mounting point too soon, it can pull the windshield slightly out of position while you are still working on the other side.
That small shift may not look serious at first, but it can leave the panel sitting crooked once the rest of the hardware is secured. Keeping everything loose until the alignment looks right gives you room to make small adjustments. Then tighten each mounting point gradually and evenly.
Over-Tightening Clamps and Bolts
Tightening the hardware too much can be just as troublesome as tightening it too early.
Polycarbonate windshields have some flexibility, but too much pressure around the mounting holes can create stress and eventually lead to cracking. Glass windshields need the same kind of care. If one side of the frame is tightened more than the other, the aluminum frame can sit under uneven pressure and put extra strain on the seals.
Half windshield clamps can also be overtightened. Too much force may deform the clamp and prevent it from gripping the roll cage evenly.
There is no need to crank down on every bolt as hard as possible. Tighten the hardware until the windshield feels secure, and follow the manufacturer's torque specifications when they are provided. A torque wrench can be useful if you want more control over how much pressure you are applying.
Installing the Windshield Without Proper Alignment
Even if every bolt is tightened correctly, a windshield that starts out crooked can still cause trouble later.
Before finishing the installation, check that both sides of the windshield sit at the same height. Then look at the gap between the top of the windshield and the roof or roll cage. The spacing should stay fairly even across the width instead of getting wider toward one side.
Check the bottom edge as well. It should sit where the design intends, without obvious gaps around the hood, dashboard, or lower seal that could let in extra wind, dust, or debris.
It is also worth sitting in the driver's seat before calling the job finished. Make sure the windshield does not interfere with your sightline or sit at an angle that creates distracting reflections.
Final Thoughts
Installing a UTV windshield properly is less about technical skill and more about taking your time. Whether you are fitting a front windshield, a half windshield, or a glass windshield, the same details make the biggest difference: keeping the seal even, tightening the bolts in the right order, and making sure the panel sits level. Getting those things right from the start helps prevent rattling, wind noise, leaks, and loose hardware later on.
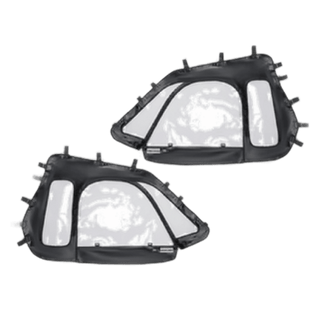
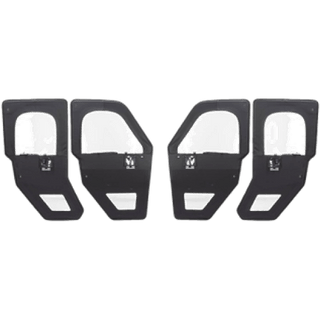
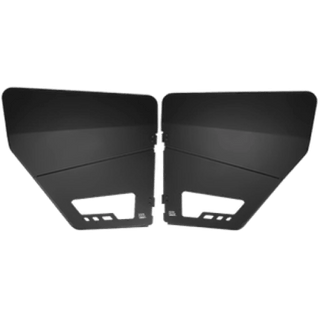
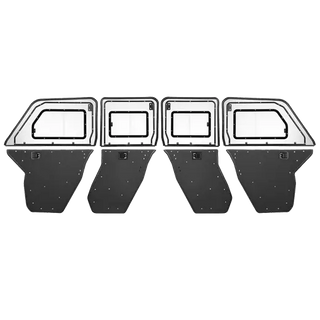
Once the windshield is in place, you can think about whether the rest of the cab setup suits the way you actually ride. The KEMIMOTO UTV accessories collection includes options such as door panels and storage accessories that can be useful if you want to improve comfort, protection, or everyday practicality without changing the basic setup of your UTV.
FAQs
How long does it take to install a UTV windshield?
A half windshield usually takes ten to fifteen minutes. A full windshield or glass windshield involves more hardware and a seal, so plan for thirty to forty five minutes.
Can I use the same installation method for PC and glass windshields?
Not exactly. PC panels are lighter and some styles use clip on mounts for a quicker install. Glass panels are heavier and typically need a full seal along with multi point bolts to hold securely.
Why is there wind noise after installation even though everything seems tight?
This usually points back to the seal. If it was not pressed down flat before the frame was tightened, or the bolts were not tightened in a diagonal pattern, small gaps can form that let air whistle through.
Can a full windshield be installed alongside an intrusion bar?
Most full windshields are not compatible with intrusion bars, factory or aftermarket. Check your frame configuration before you start the install.
How often should the seal be replaced?
If you ride hard and often, check the seal's condition once a year. Replace it as soon as you notice cracking or shrinking, since a worn seal is the main cause of leaks and wind noise.


Leave a comment