


The Complete Guide to Choosing a Polaris Sound System

Off-road audio has become one of the fastest-growing upgrades in the UTV world. In early 2026, aftermarket audio brands reported record sales across all Polaris platforms, driven by a wave of riders who want more than just the sound of an engine on the trail. Whether you hunt remote ridgelines, work a large farm, or blast through dunes on the weekend, silence between waypoints gets old fast.
This guide is for Polaris owners who want clear, loud, trail-ready sound without spending money on the wrong product. Before you buy, there are three things to get right: your Polaris model, your roll bar size, and the type of sound system that suits your riding style.
Here is what this article covers:
-
Understand the differences between specific machine models like the RZR, Ranger, and General.
-
Learn how to measure your roll bar dimensions to ensure brackets fit securely.
-
Discover the main types of trail audio
-
Get simple installation tips to avoid battery drain and keep wires safely out of sight.
Matching Your Polaris Sound System to Your Vehicle Model
Every utility terrain vehicle has a unique cabin shape and seating arrangement that changes how audio travels. Finding the best Polaris sound system starts with matching the component layout to your exact machine style.
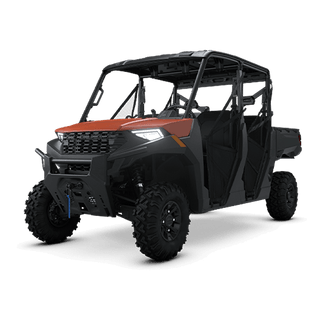
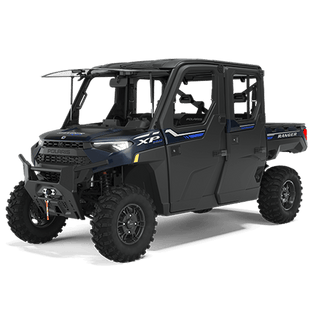
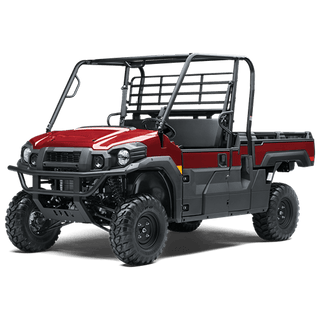
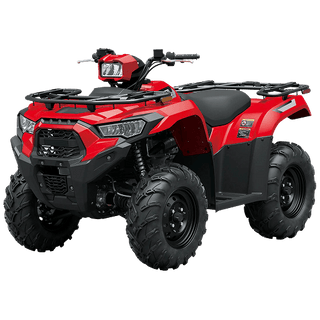
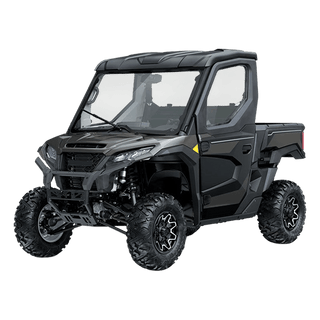
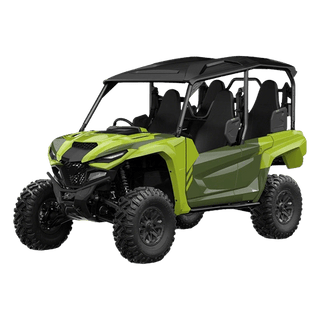
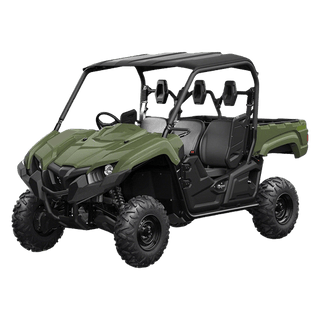
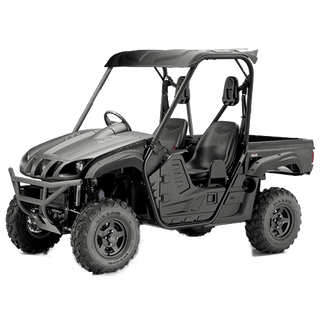
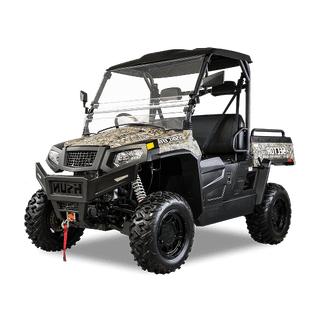
A hard-working utility vehicle has different space limitations than a high-speed sport model. If you are shopping for a Polaris Ranger sound system, you are dealing with a straight, vertical cabin back and a functional dash area. Riders looking for the best sound system for Polaris Ranger models often prefer overhead units or straight bars that mount cleanly behind the seats without blocking the rear view or the dump bed.
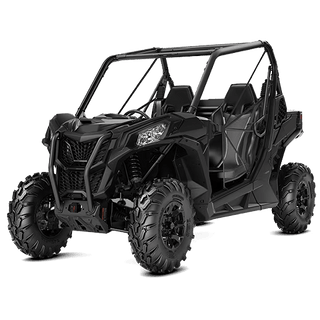
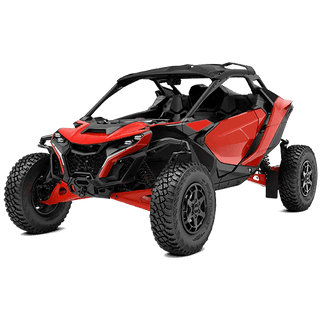
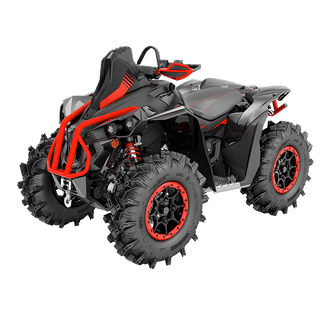
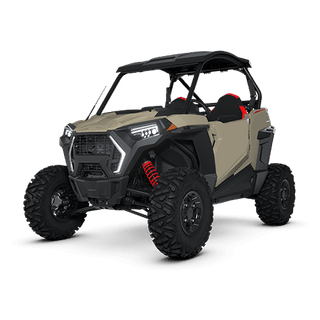
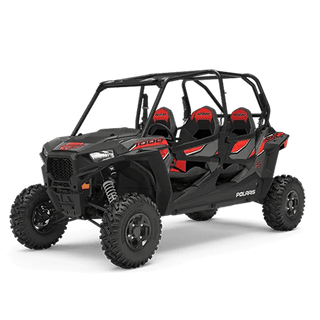
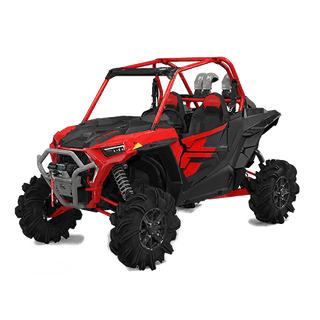
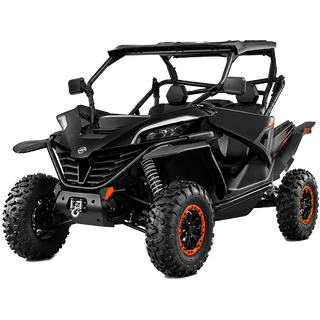
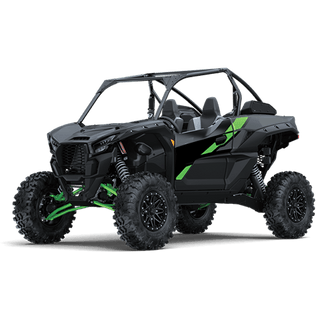
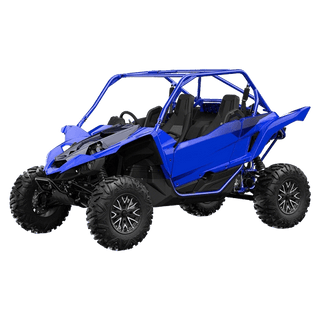
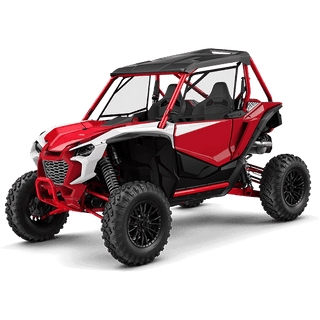
On the other side, finding a Polaris RZR sound system requires a layout built for speed and a more aggressive cage shape. A Polaris RZR sound bar needs to mount tightly to the sloping roofline to maintain maximum headroom during bumpy trail rides. Let's look at how the model type dictates your choices:
-
Polaris Ranger: Focuses on clear vocal projection and utility positioning. A sound system for Polaris Ranger models needs to stay clear of tools, gun racks, and heavy cargo.
-
Polaris RZR: Requires maximum vibration resistance. A sound bar for RZR models must handle high speeds, jumps, and intense mud exposure without loose brackets.
-
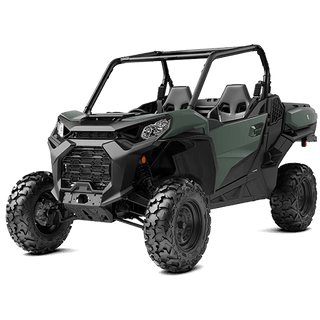
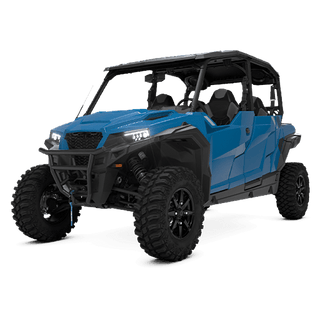
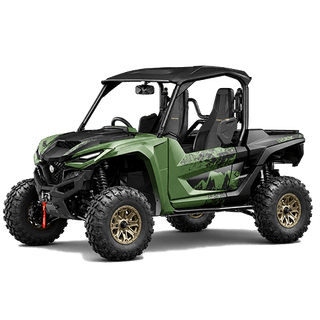
Polaris General: Balances cross-over needs, often utilizing combinations of dash pods and compact overhead systems.
Checking Your Roll Bar Dimensions Before Buying a Polaris Sound Bar
You must know your machine's frame measurements before buying a Polaris sound bar or any mounting hardware. A loose speaker bar can become an immediate safety hazard on rough terrain, while a clamp that is too small simply will not install.
|
Polaris Vehicle Model |
Common Dimension Sizes |
|
Polaris RZR |
1.75 inches to 2.0 inches |
|
Polaris RZR 200 |
1.5 inches |
|
Polaris Ranger |
1.75 inches |
|
Polaris General |
1.75 inches |
Popular Audio Options and the Best Sound System for Polaris Ranger and RZR
The aftermarket accessory market offers a few distinct styles of audio components to match different riding preferences and budgets. Exploring these types will help you find the exact style that fits your lifestyle.
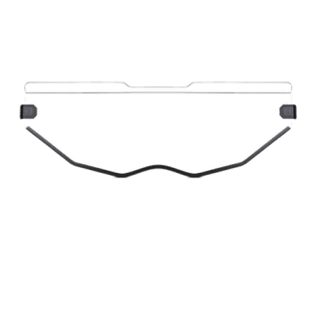
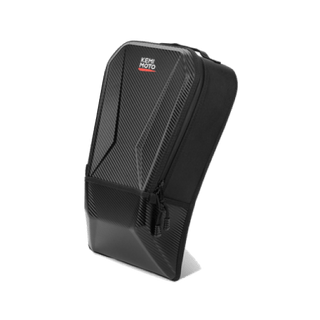
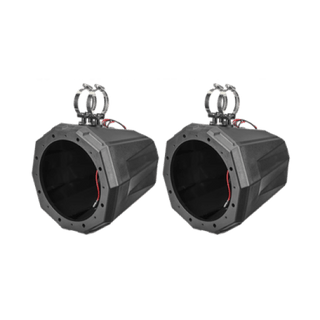
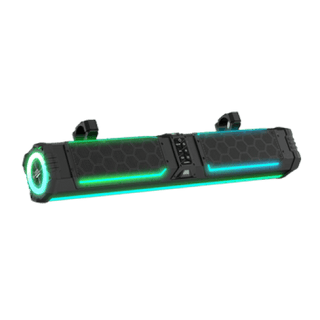
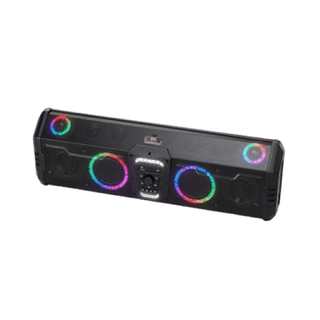
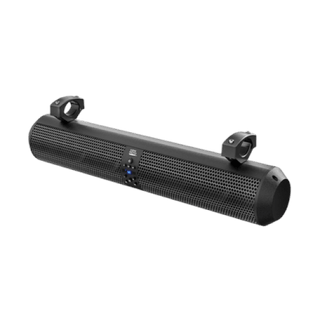
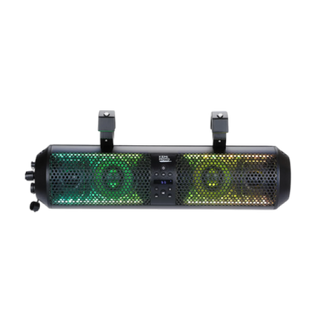
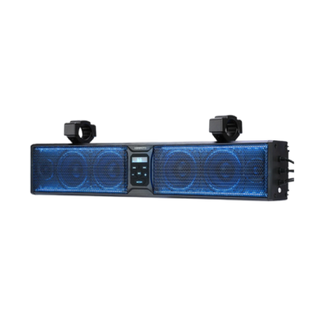
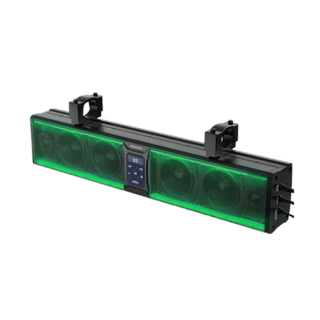
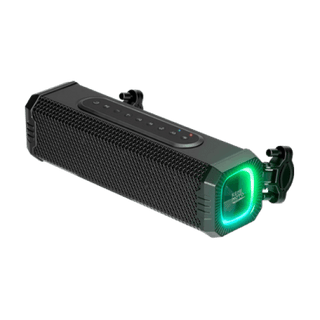
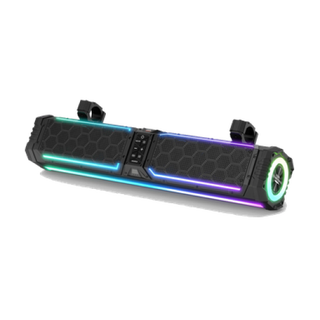
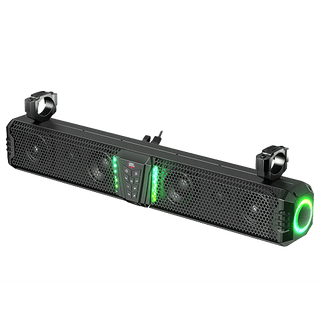
An all-in-one Polaris Ranger sound bar is the most straightforward way to add high-quality audio to your vehicle. These compact units combine multiple speakers, specialized tweeters, and an internal amplifier inside a single waterproof housing. They mount quickly, keep your wiring incredibly simple, and deliver massive sound projection without taking up valuable cabin space.
Key Features Worth Looking For in a Polaris Sound Bar
A quality Polaris RZR sound bar or Polaris Ranger sound bar should be built to survive real riding conditions. Rain, mud, and engine vibration are all part of the deal. Here's what to prioritize:
-
Waterproof rating of IP65 or higher – IP65 protects against rain and splashing water. IP66 handles heavier exposure from mud and stream crossings.

-
Peak power of 240W or more – Trail riding generates a lot of noise. At least 240W is needed to hear clearly at higher speeds. 500W to 680W is better if you push the throttle hard.
-
Bluetooth 5.0 or 5.3 – Gives you a stable, fast connection to your phone from a practical distance without dropouts on rough terrain.
-
AUX and USB inputs – Backup options beyond Bluetooth are useful if you're out of data service.
-
Built-in amplifier – Keeps the install simple and avoids the need for additional wiring or a separate amp.
-
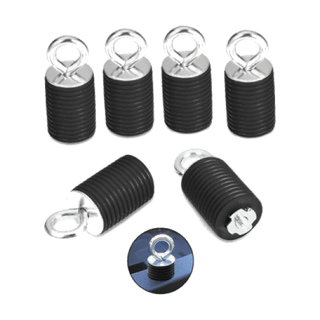
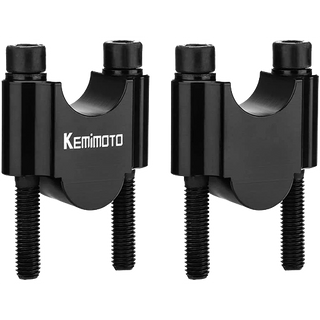
Adjustable O-ring clamp hardware – No drilling, faster installation, and compatibility with a wider range of bar sizes.
How to Install a Sound Bar on Your Polaris in About 20 Minutes
Installing a Kemimoto sound bar on a Polaris RZR or Ranger is one of the quickest upgrades you can do. Most riders finish the job in under 20 minutes with no drilling. For a complete step-by-step breakdown covering pods, portable speakers, and sound bars in detail, see the Kemimoto UTV speaker installation guide.
The general process looks like this:
-
Pick your mounting position. The overhead bar above the driver and passenger seat is the most common spot. It keeps the unit away from mud and puts the sound close to ear level.
-
Slide on the O-ring clamps. These wrap around the roll bar without drilling. Position the sound bar first, then slide the brackets into place.
-
Tighten the clamps evenly. Alternate between both sides as you tighten so the bar stays level. Don't fully torque one side before touching the other.
-
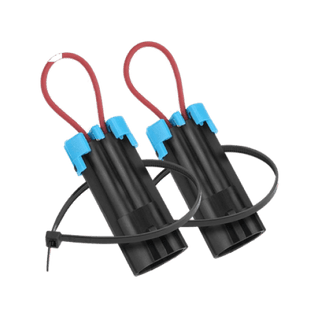
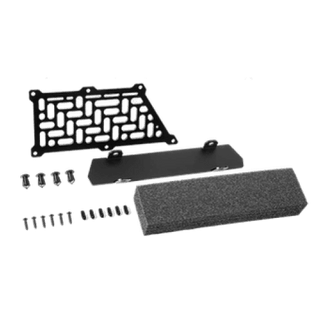
Connect power. Use the included cigarette lighter adapter for a quick plug-in setup, or hardwire directly to the battery using the included DC converter and an inline fuse for a cleaner, permanent connection.
-
Pair your device and set audio preferences. Power on the bar, enable Bluetooth on your phone, and connect. Most Kemimoto models also support AUX input and USB. If your model has EQ presets, try a few to find your preferred sound profile.
-
Test and adjust. Play music at different volume levels and listen for rattles. Take the Polaris out for a short test ride and tighten the clamps if any movement appears.

Final Thoughts
Upgrading your vehicle with a premium Polaris sound system makes every outdoor task and trail ride more enjoyable. By matching your equipment to your vehicle model, verifying your roll cage dimensions, and routing your power wires cleanly, you ensure your audio gear survives the elements for years to come. Explore the universal gear options at the Kemimoto to find rugged accessories designed for your next off-road adventure.


Leave a comment